How to Add Bleed to PDF in Acrobat
Adobe Acrobat is renowned for a complete set of powerful PDF handling tools. It makes PDF printing, editing, and signing easier and more precise than ever. The software allows you to add bleed and crop marks on PDFs for high-quality output. If your PDF is cropped before, it can add margins to the PDF. All you have to do is unlock the Print Production premium feature.
Uncover how to add bleeds to a PDF in Adobe Acrobat Pro using the steps below.
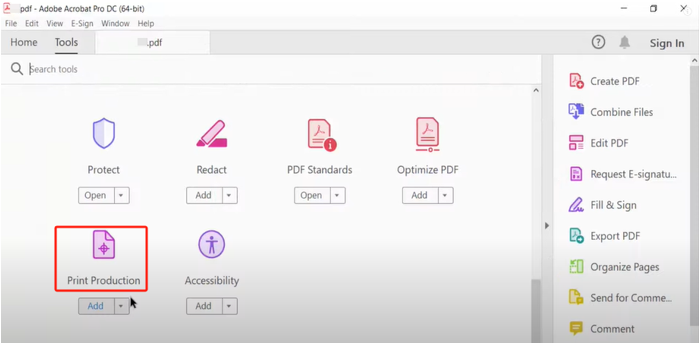
Step 1: Import your PDF file into Adobe Acrobat Pro DC;
Step 2: Choose Tools > Print Production > Add Printer Marks;
Step 3: Check the Bleed Marks option and specify the mark style and line weight (usually 0.125 inches or 3mm on each side and 0.25 inches on two sides);
Step 4: Uncheck other mark options if you don’t need them, and click OK;
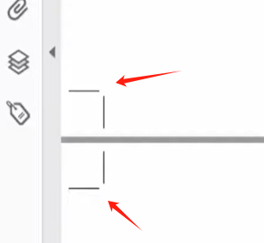
Step 5: Click Yes and OK in the next two pop-up windows to add bleed marks on the PDF;
Step 6: Press Ctrl + P, and review the bleed values to ensure all images, text, and colors are extended to the proper point;
Step 7: Proceed to print the full bleed PDF when everything is fine.
Add Bleed Marks on PDF with Scribus
Scribus is loved by many users as a free, open-source software application for adding bleeds to PDFs. This desktop publishing software is available on Windows, macOS, Linux, and some other operating systems. It is designed for book, newsletter, and other document creation and thus excels at refined publication and printing works.
Step 1: Open the PDF you want to add print bleeds to using Scribus;
Step 2: Go to File > Document Setup > Margins & Bleeds;
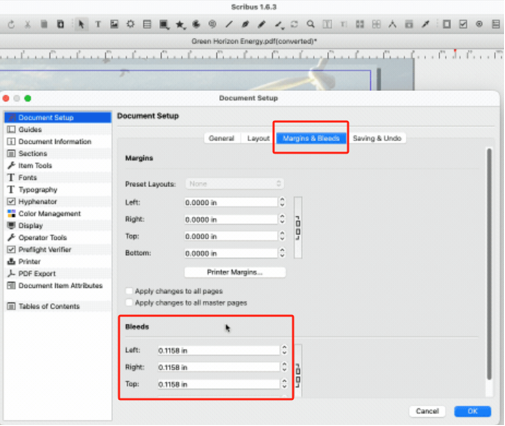
Step 3: Enter the bleed value for each side, click OK, and choose File > Export > Save as PDF;
Step 4: Click the Pre-Press tab and select the Use Document Bleeds option;
Step 5: You can also check Crop Marks to add crop and bleed marks in the PDF together;
Step 6: Go to the Print option to print the PDF with bleeds.
How to Add a Bleed to a PDF Using Canva
Canva is an online photo maker that offers document printing functions. This tool allows you to create a new design from scratch or open an uploaded PDF. It can add bleeds and add crop marks to a PDF and also show margins and rulers while designing. This bleed is added based on print production standards; you can't change the value.
Now explore the step-by-step guide to add bleeds to a PDF online for free using Canva.
Step 1: Click Upload on the homepage of the website to upload your PDF;
Step 2: Open the file, and click File > Settings > Show print bleed;
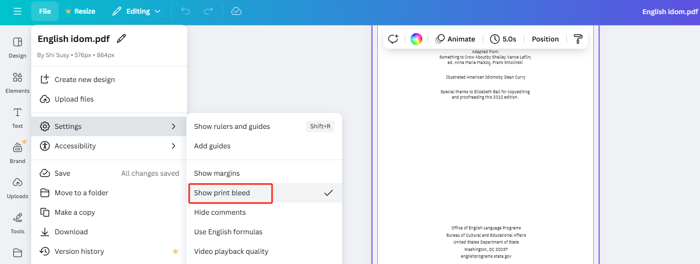
Step 3: You will see the PDF bleed marks – a border of dashed lines come out on the pages;
Step 4: Resize or stretch the background if necessary and go to Share > Download;
Step 5: Hit the File type button to choose PDF Print, and tick the Crop marks and bleed checkbox;
Step 6: Click the Download button to permanently add bleed marks to the PDF and save the marks for printing as expected.
Bonus: Best PDF Printer for Windows - SwifDoo PDF
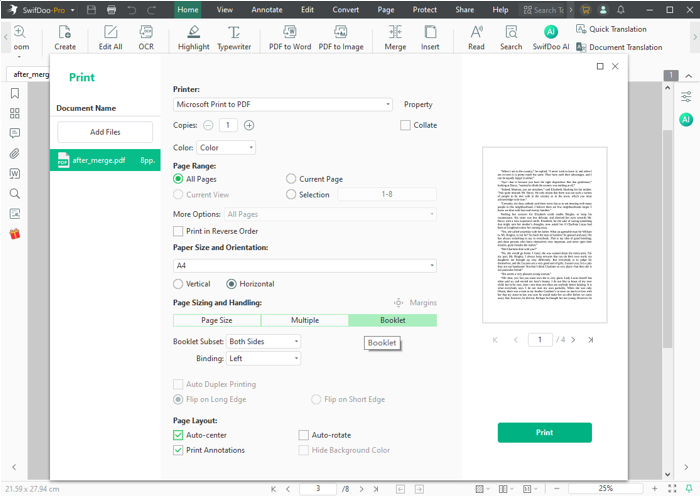
The above tutorials explain how to create a PDF with bleed and crop marks. With a bleed PDF, you may require versatile and useful PDF printer software. SwifDoo PDF comes into play with its robust capabilities in PDF viewing, editing, creating, and printing. Look at what you can do with it:
- print 2 pages on one sheet in landscape or horizontally;
- print the PDF as a booklet after you add bleed lines to the PDF;
- Print double-sided and flip on short or long edge;
- print PDF without margins;
- batch print multiple PDF books or files;
- crop, shrink, and scale PDF pages;
- edit original text, images, and other objects in a PDF.
Final Words
Bleed in printing or publishing is to avoid unwanted white borders, even if the printer machine has a slight misalignment. Therefore, the artwork has the perfect final printed page. Do you wish to give your printed piece a professional and clean look? Try out the recommended ultimate ways to add bleed marks to an Adobe PDF. Share this article to aid others in bleed adding!